We started this job on March 6, 2018.
As with the kitchen the walls are all 1/4 inch plywood. Not a piece of plaster or drywall in sight. My first plan was to rip down the plywood and replace it with drywall but after thinking about it and doing a bit of research it seemed that that plan did not make lots of sense. We decided I would strip the wallpaper and see what that would do for us.
The wall paper came off easily. While Cheri was at work I scored the paper and sprayed it down with a solution of wallpaper remover and water. I let it sit for a bit and then started to scrape. I have stripped lots of wallpaper and this ranked as one of the easier stripping jobs. I had the walls down to bare plywood in less than a day. Messy but rewarding!
I bought some Kilz primer and we primed the walls while deciding what exactly we would do next. We decided to line the walls with heavy duty wall lining paper so that we could paint later. Cheri bought the paper online from Steve's Blinds and it showed up in just a couple of days....after she called and they told her the order got misplaced!
While we were at it we also painted the ceiling, I replaced all of the electrical outlets and switches, we bought a new rug, and I installed some new door bumpers.
We finished the job on March 31...the day before Easter. It turned out so well that we have changed our socio-economic status and we call it the den.
The following pictures document what we did!
 |
| This is the original wallpaper that is soon to come down. |


 |
| The top layer is coming right off. |

 |
| This was the first layer under the top layer. |
 |
| This was the bottom layer. |
 |
| Here is the bare plywood wall and Cheri starting to remove the base and shoe molding. |
 |
| No more molding on this wall. |
 |
| Victory! |
 |
| We primed the walls with Kilz so we could seal the raw plywood. |

 |
| These seams were originally taped and plastered much like modern drywall...except it is plywood! |
 |
| The gap between the walls and the floors allowed a stream of cold air to enter the house so I foamed them up with insulation. I also did some mudding and patching of the walls. |
 |
| Sometimes that foam insulation gets messy. |
 |
| We started the wallpaper liner application. We ran it horizontally in a technique called "railroading". We did not punch each other out during the process! |
 |
| Wallpaper goddess. |
 |
| Everything was going great until Cheri dropped the seam roller down the register. Not her fault...it broke and sort of few away never to be seen again. |
 |
| Victory v2.0 |
 |
| All of the liner is up and the room is looking great! |
 |
| I'm starting to install the new baseboards. |
 |
| We are also installing board and batten wainscoting so I am marking out where things will go. |
 |
| Baseboard and top rails are complete. |
 |
| Battens going up. |
 |
| Not bad. |


 |
| Now it is time to remove the carpet and see what the floor looks like. That also means removing the tackless strips which usually end up being a bloody job! |
 |
| We painted the top of the wall a tope sort of color. |
 |
| We painted the bottom white...and the trim too. |
 |
| The floor is in pretty good shape! |
 |
| I installed the quarter round shoe molding. |
 |
| I replaced the outlets and switches. |
 |
| Cheri used money we got from the kitchen appliance rebate to buy this rug at Home Depot |
 |
| I bought 3 unfinished wooden doorstops from Antique Hardware. I painted them white and installed them where needed. |
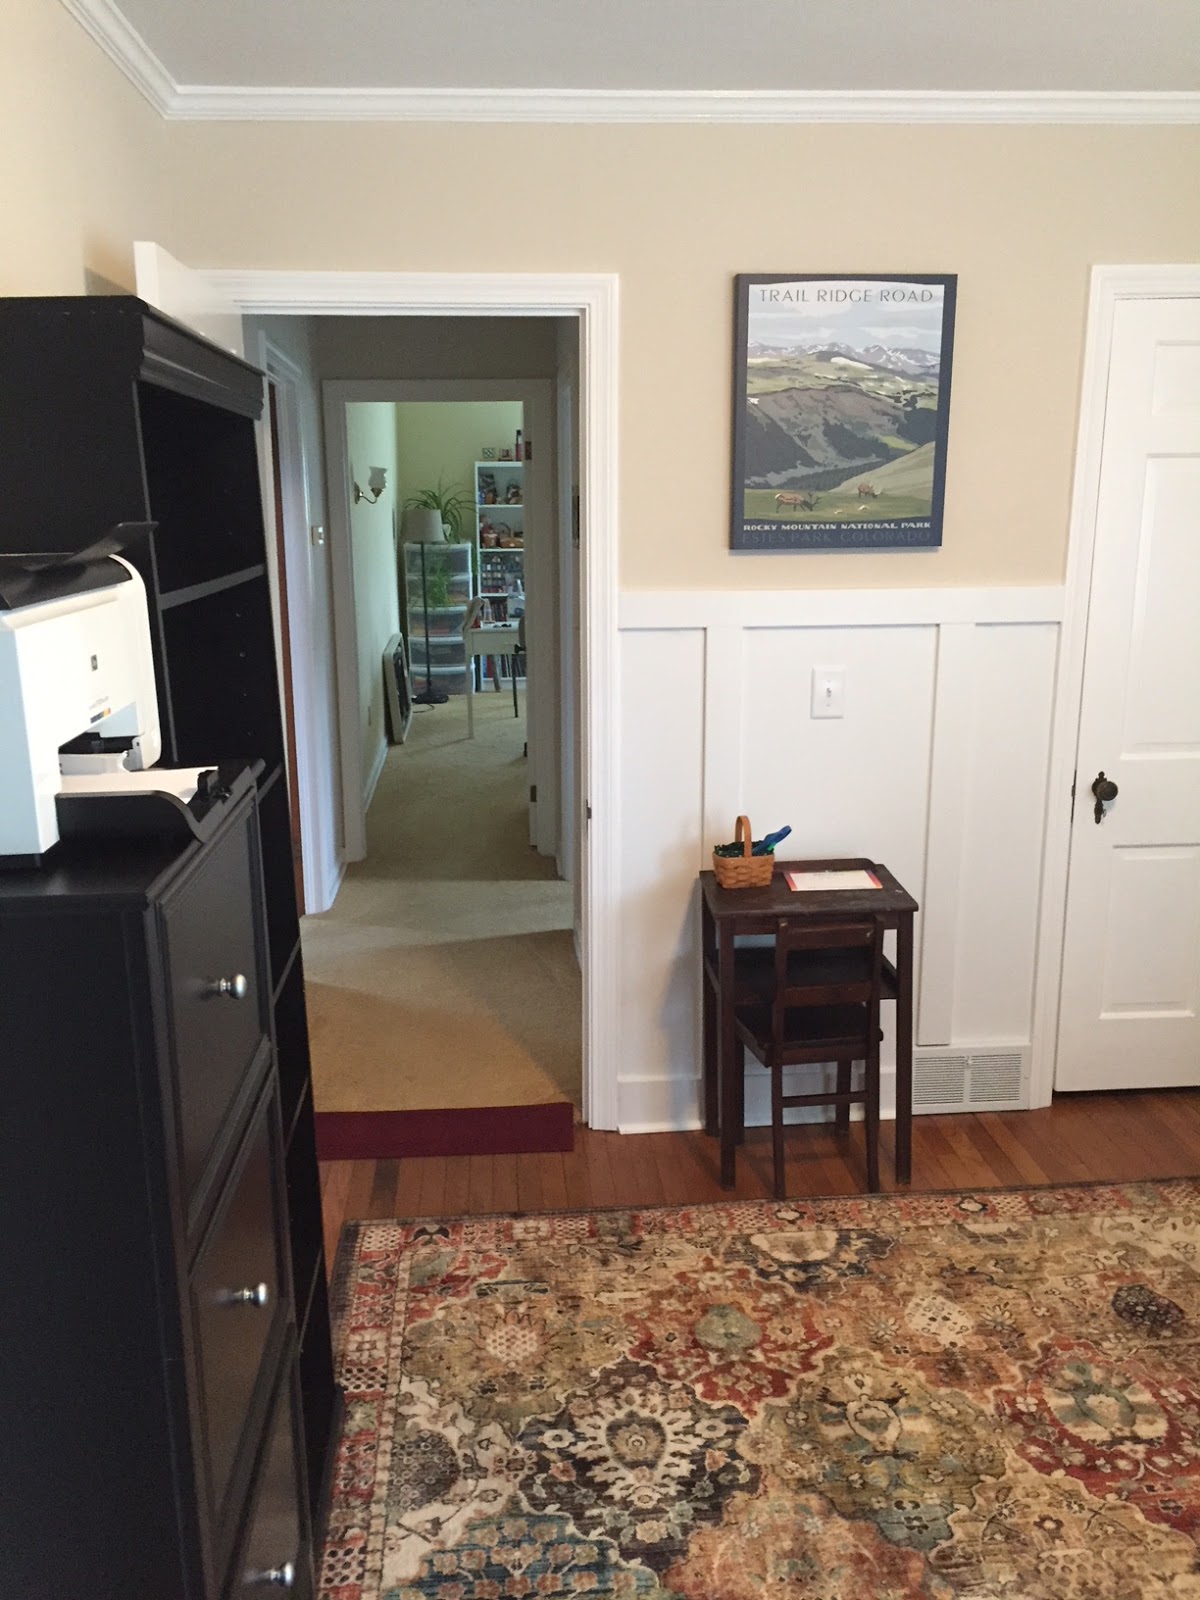 |
| Almost back to normal. |
 |
| Beautiful....If I do say so myself! |